

How to Publish Pre-Scheduled Instagram Posts
How To & Business Tips Social Media Marketing
Use the Buffer app on your phone to publish images and videos on Instagram
Did you know that Instagram doesn’t allow you to post directly from Buffer to Instagram? Why? Because they want each and every Instagram post to publish from a phone.
However, Buffer has developed a way to overcome this situation allowing you to publish your pre-scheduled Instagram posts at the right time and on the right day.
First you need to have a Buffer account. This article assumes that you already have one that’s been set up on a desktop and that you have a username and password. If you’re new to Buffer, click here for information about the scheduler and to create an account.
If a Buffer account already exists, you can proceed with these instructions.
Step 1
Install both the Instagram app and the Buffer app on your phone using the Google Play or Apple store.
Step 2
Click on the Buffer icon to add a new profile. Choose the Instagram option. You’ll see that Buffer will prompt you to proceed with a few steps. Here’s what you need to do:
Step 3
Use Buffer the username and password to login to login to your Instagram profile.
Step 4
Your desktop version of Buffer will let you know that Buffer is now connected to your phone and that you’re all set to go.
That’s it! Now, each time a scheduled image is ready to be published, Buffer will send a notification to your phone. You just need to open the notification and follow the on-screen instructions to publish the image.
Here’s a short video from Buffer (4:19 minutes) to help you visualise all these steps:
https://www.youtube.com/watch?v=zjWP6cn25XE
How to Publish Videos on Instagram using the Buffer Scheduling Tool
You can add videos to the Buffer desktop app the same way that you would add photos, it just might take a few minutes to load the video but that’s perfectly normal.
When the day and time arrive to publish the video, you’ll receive a notification on your phone exactly the same way as with an image.
If your video is not square, you might need to resize it when you are in the process of publishing on Instagram. You can do it automatically by pressing this icon on the bottom left side:
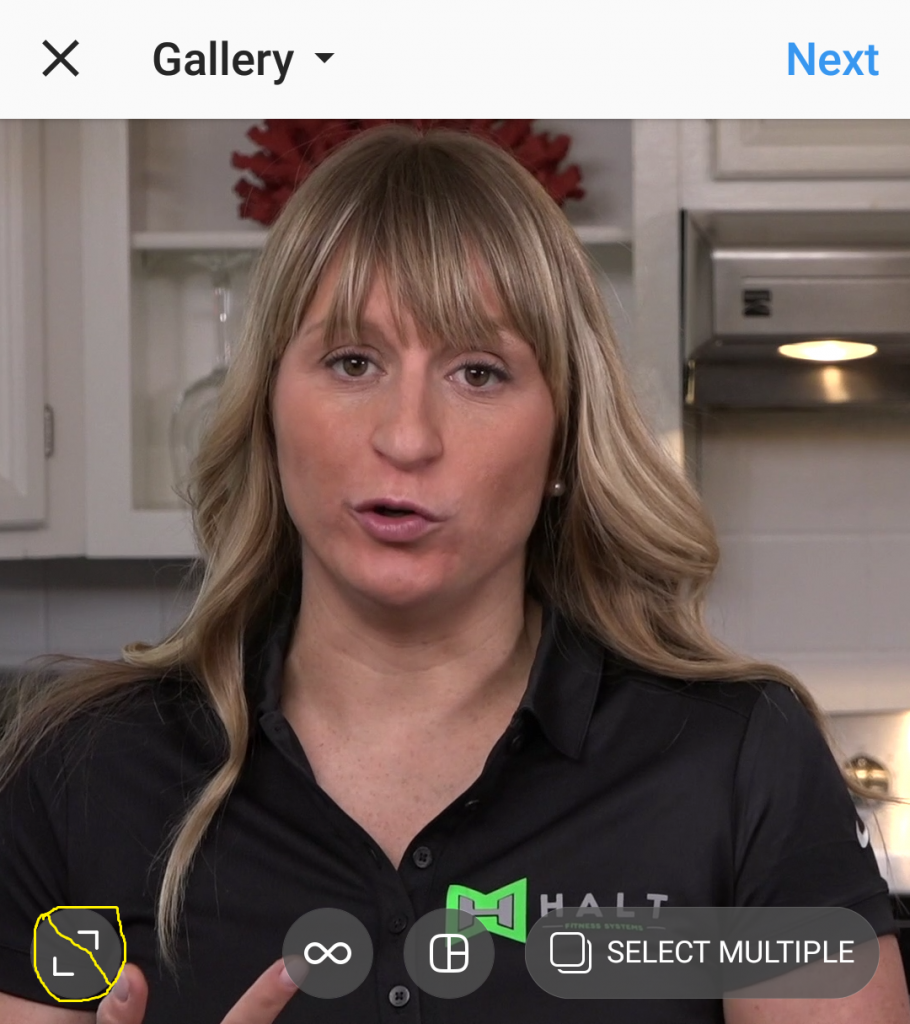

And you’ll get this video size. This way, the entire width of the video will be included and no text or other visuals will get cut off the edges.
![]()

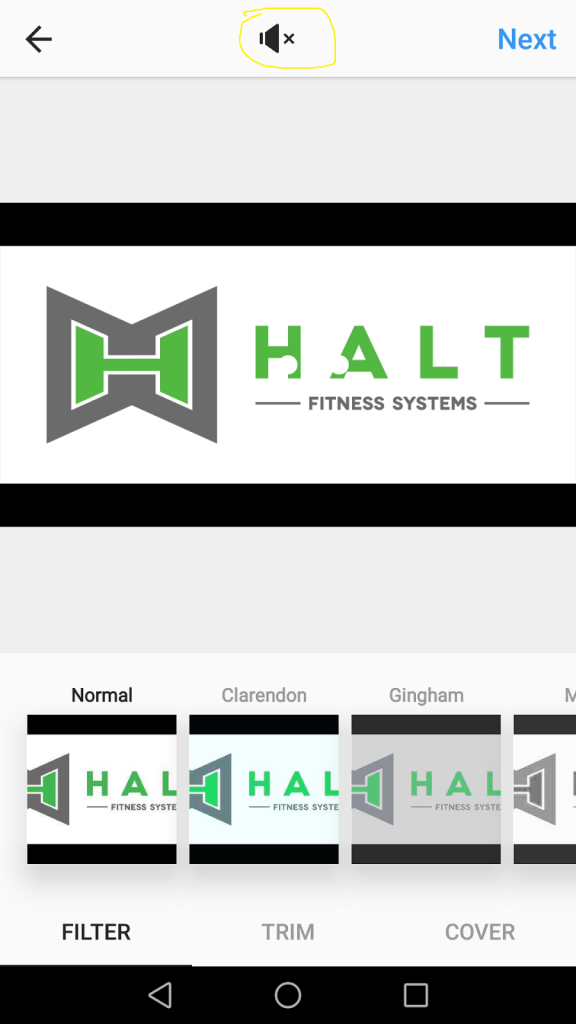
After you’ve adjusted from square to wide/rectangular, just press Next and on the next screen.
**Important: Make sure the sound icon is black meaning that the sound is active and the video will have sound after it’s published on Instagram. Otherwise you’ll have a “no sound video”.

Finally, you just need to paste the caption and press Share. You’ll be able to see the progress loading bar while the video is uploading to Instagram.
That’s it!
If you have any problems, just let us know. 🙂


